The Japanese Home
Introducing unique architectural features and designs
influenced by Japanese culture.
Japanese Fireplace “Irori” – Vol.2
June 7. 2021
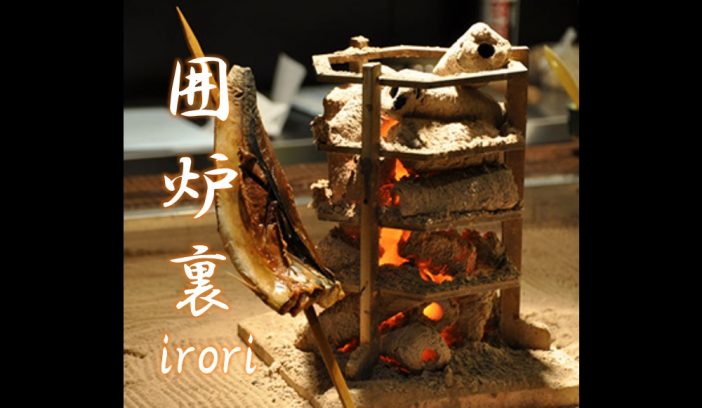
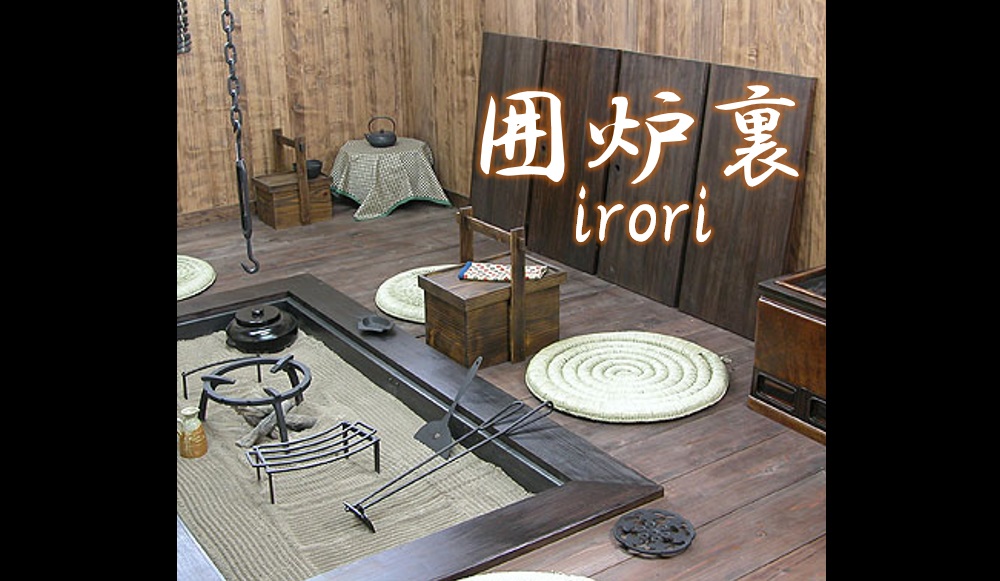
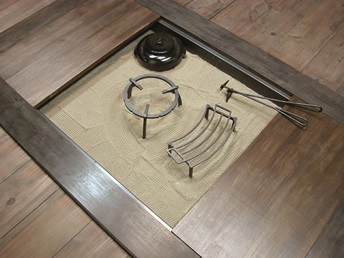
“Irori” in Japanese literately means a fireplace surround by people.
The Irori has a long history of being the center of Japanese daily life, with the prototype of it being created during the Jomon periods (between c. 14,000–300 BCE).
In this episode, we discuss how an Irori is installed.
Japanese Fireplace “Irori”
◆ Vol.1 — Ways to Enjoy Japanese Fireplace “Irori”
◆ Vol.2 — Irori Installation, Past to Present
◆ Vol.3 — Variety of Irori and Art of Ash Patterns Drawing
Vol.2 – Irori Installation, Past to Present
Even though all “Irori” look the same, you may notice the difference in installation method if you look closely.
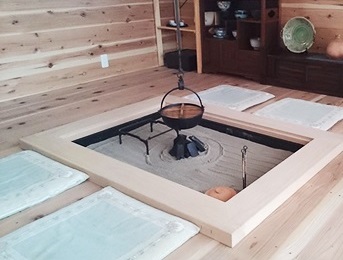
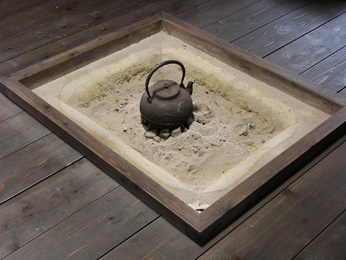
Can you tell the difference between these two irori?
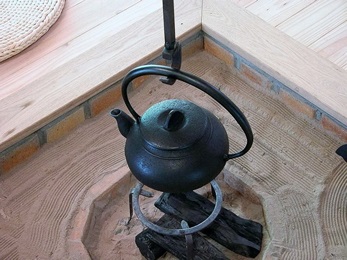
Block Stacking Type
Iron Tub Type
The left side Irori is installed by stacking concrete blocks on the ground base. This is the traditional way to install an Irori. The right side Irori is installed using a pre-made iron tub, which is an easier installation method.
Let’s take a closer look.
Block Stacking Type
The Irori history goes back to the Jomon period (between c. 14,000–300 BCE), the proto-type Irori was made by digging the ground in a dwell.
Later, the floor level of most residential homes was elevated from the ground, and an Irori was molded to reach the height of the floor using soil kneaded with straw.
In recent years, the ground is smoothed with concrete, and an Irori is installed by stacking up blocks to the floor level and is finished with mortar.
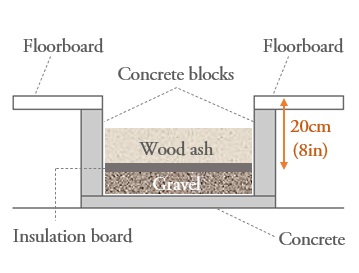
Since this method deepens an Irori, oftentimes gravels are filled under wood ashes to raise the bottom.
Also, to maintain the condition of wood ashes, an insulating board is installed for waterproof and prevent gravels and wood ashes are mixed.
Iron Tub Type
For modern homes, using an iron tub called a “Tetsu-ro” is more common to install an Irori.
The installation process is very simple.
Make a hole in the floor, place an iron tub in the hole, and hook about 10 mm around the floor base.
Cover the exposed edge of the iron tab with pieces of wood to complete.
The pieces of wood is called Kamachi.
No screws or nails are needed to install the iron tub.
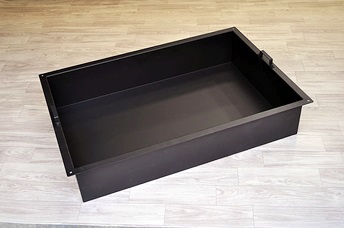
Iron tub
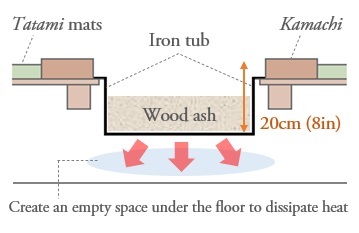
This installation method does not require block-stacking, mortar coating, or gravel under the floor. Installation is easy, fast, and cost-effective.
It is also easy to remove when no longer needed.
Since there is a space between the iron tub and the ground, it has excellent heat dissipation and produce well-ventilation so that moisture does not transmit from the ground.
Also, by removing the iron tub, it becomes access to a crawl space.
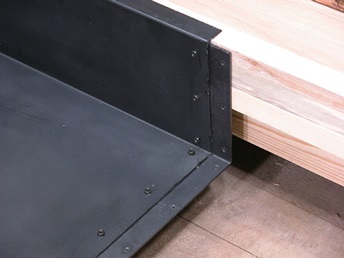
Just hook and hang!
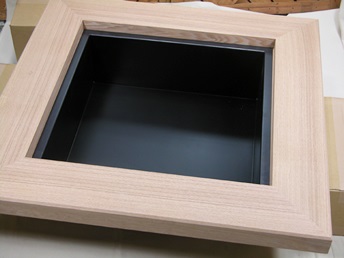
Finish with Kamachi
During the Offseason
When an Irori is not used, such as in the offseason, or when you want to use the room spaciously, you can cover the Irori by a lid.
Choose a strong and durable lid so that people can step on it.
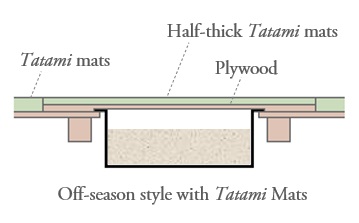
If an Irori is installed in a tatami room, you can also use tatami mats that are adjusted thickness to keep the same floor level.
This way, the room can be used as a regular tatami room without Irori during the offseason.
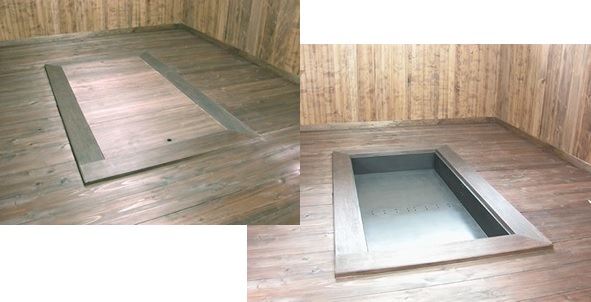
For a large Irori, it is a good idea to use two or three pieces of the lid, instead of one large lid which makes easier to handle.
Also, you can use a part of Irori by taking off a lid as you need. This is convenient for a smaller number of people, or to create a space to put tableware.
Partially uncovered by taking off one of the lids.
In the next episode, we introduce some actual projects with an Irori, and “Ash Patterns”.
Don’t miss out.
>> Next : Vol.3 — Variety of Irori and Art of Ash Patterns Drawing
Japanese Fireplace “Irori”
◆ Vol.1 — Ways to Enjoy Japanese Fireplace “Irori”
◆ Vol.2 — Irori Installation, Past to Present
◆ Vol.3 — Variety of Irori and Art of Ash Patterns Drawing
Interview Cooperation
* * *
Chirori Co., Ltd.
囲炉裏本舗
https://www.fnw.gr.jp/irorihonpo/
Yoshihiro Nagata


